
This guide should work with most mini PCs, but the one used for this guide was purchased to test DRI3 support and performance for our internal patched XVFB. The specific model is here; it cost $120 on sale, and similar N100 or N150 builds can generally be found at this price point. This is not an affiliate link or a recommendation; optimally, you already have this type of system and want to try this out. In general, these systems offer a great value proposition for running mini-servers or purpose-built devices, such as this one for playing games with friends.
While this guide specifically steps through building a system to support up to four mobile devices connecting to a captive network for MAME, the principles can be applied to any Docker container or application. It's important to note that this setup only dedicates the server's Wi-Fi adapter to running the captive portal. All other server functions remain unchanged. The only capability the server loses is the ability to use that specific Wi-Fi adapter for its own internet connection.
Install Debian Trixie
Head over to Debian's website and grab the netinstaller ISO:
https://cdimage.debian.org/debian-cd/current/amd64/iso-cd/debian-13.0.0-amd64-netinst.iso
Burn this to a USB drive using a program such as:
During setup, ensure an Ethernet cable is plugged into the mini PC and do not configure the wireless interface. If you configure the wireless interface as your primary network device, you will need to reconfigure it later to function as an Access Point (AP), which is outside the scope of this guide.
Important: During the installation, do not set a root password. This will prompt Debian to install and set up sudo for your user. Otherwise, you will need to use su to become root to install packages, including sudo itself.
When asked which packages to install, select only SSH server and standard system utilities. We are performing a headless installation and do not need a desktop environment.
This guide assumes you are familiar with connecting to a server via SSH and editing files from the command line (e.g., with vi or nano). Initially, with a monitor connected, you will need to enable password authentication for SSH.
- Edit the file
/etc/ssh/sshd_config. - Find the line
#PasswordAuthentication yesand uncomment it (remove the#). - Restart the SSH service:
sudo systemctl restart ssh.
You can now connect to the mini PC from another computer via SSH to set up the remaining components.
Install Docker
# Add Docker's official GPG key:
sudo apt-get update
sudo apt-get install ca-certificates curl
sudo install -m 0755 -d /etc/apt/keyrings
sudo curl -fsSL https://download.docker.com/linux/debian/gpg -o /etc/apt/keyrings/docker.asc
sudo chmod a+r /etc/apt/keyrings/docker.asc

# Add the repository to Apt sources:
echo \
  "deb [arch=$(dpkg --print-architecture) signed-by=/etc/apt/keyrings/docker.asc] https://download.docker.com/linux/debian \
  $(. /etc/os-release && echo "$VERSION_CODENAME") stable" | \
  sudo tee /etc/apt/sources.list.d/docker.list > /dev/null
sudo apt-get update
sudo apt-get install -y docker-ce docker-ce-cli containerd.io docker-buildx-plugin docker-compose-plugin
Next, add your user to the docker group to run Docker commands without sudo:
sudo usermod -aG docker $USERLog out and log back in. You should now be able to run docker ps -a without sudo.
Set up the Wi-Fi Interface and Captive Portal
Networking
Install the required packages:
sudo apt-get update
sudo apt-get install hostapd dnsmasq nginx
Full file: /etc/network/interfaces
# This file describes the network interfaces available on your system
# and how to activate them. For more information, see interfaces(5).

source /etc/network/interfaces.d/*

# The loopback network interface
auto lo
iface lo inet loopback

# The primary network interface
allow-hotplug enp1s0
iface enp1s0 inet dhcp
# This is an autoconfigured IPv6 interface
iface enp1s0 inet6 auto

# The wireless interface for the hotspot
allow-hotplug wlp2s0
iface wlp2s0 inet static
    address 10.42.0.1
    netmask 255.255.255.0
Bring the interface up:
sudo ifup wlp2s0Full file: /etc/dnsmasq.d/hotspot.conf
# Be explicit that we are binding ONLY to the interfaces listed below.
bind-interfaces
# Listen only on the wlp2s0 interface.
interface=wlp2s0
# Do NOT read the server's /etc/resolv.conf file. We don't want
# to forward DNS requests to the internet.
no-resolv
# Do NOT poll /etc/resolv.conf for changes.
no-poll
# DHCP range of IPs to hand out to clients.
dhcp-range=10.42.0.50,10.42.0.150,12h
# Set the gateway (router) option for clients to be this server.
dhcp-option=option:router,10.42.0.1
# Set the DNS server option for clients to be this server.
dhcp-option=option:dns-server,10.42.0.1
# Redirect all DNS requests for any domain (#) to our server's IP (captive portal).
address=/#/10.42.0.1
Full file: /etc/hostapd/hostapd.conf
# The interface used by the AP
interface=wlp2s0
# The driver for the interface
driver=nl80211
# The name of the WiFi network
ssid=MAME
# Use 2.4GHz band (g)
hw_mode=g
# Use channel 7 (any channel from 1-11 is usually fine)
channel=7
# Accept all MAC addresses
macaddr_acl=0
# Make the network visible
ignore_broadcast_ssid=0
# Use open authentication (no password)
auth_algs=1
To password protect the network swap auth_algs=1 for:
# Use WPA2
wpa=2
# The password for the network
wpa_passphrase=YourPasswordHere
# Authentication method
wpa_key_mgmt=WPA-PSK
# Encryption cipher for WPA2
rsn_pairwise=CCMP
Edit /etc/default/hostapd and modify the line to point to our configuration file:
DAEMON_CONF="/etc/hostapd/hostapd.conf"NGINX
Full file: /etc/nginx/sites-available/default
server {
    listen 80 default_server;
    listen [::]:80 default_server;
    root /var/www/html;
    index index.html;
    server_name _;
    location / {
        try_files $uri $uri/ /index.html;
    }
}
Create a landing page to redirect to your app.
Full file: /var/www/html/index.html (Generic example)
<!DOCTYPE html>
<html>
<head>
    <title>Connecting...</title>
    <meta http-equiv="refresh" content="0; url=https://10.42.0.1:3001" />
    <script type="text/javascript">
        window.location.href = "https://10.42.0.1:3001"
    </script>
</head>
<body>
    <p>If you are not redirected automatically, please <a href="https://10.42.0.1:3001">click here</a>.</p>
</body>
</html>
Replace the URL with your own. In this case, we are creating a page with links for each MAME player.
Full file: /var/www/html/index.html (MAME player links)
<!DOCTYPE html>
<html lang="en">
<head>
    <meta charset="UTF-8">
    <meta name="viewport" content="width=device-width, initial-scale=1.0">
    <title>Select Player</title>
    <style>
        html, body {
            height: 100%;
            margin: 0;
            font-family: -apple-system, BlinkMacSystemFont, "Segoe UI", Roboto, Helvetica, Arial, sans-serif;
            background-color: #f0f2f5;
        }
        body {
            display: flex;
            justify-content: center;
            align-items: center;
        }
        #button-container {
            display: flex;
            flex-direction: column;
            gap: 15px;
            width: 80%;
            max-width: 300px;
        }
        .player-button {
            display: block;
            padding: 15px 20px;
            background-color: #007bff;
            color: white;
            text-align: center;
            text-decoration: none;
            font-size: 1.1em;
            font-weight: 500;
            border-radius: 25px;
            border: none;
            cursor: pointer;
            transition: background-color 0.2s ease-in-out, transform 0.1s ease;
        }
        .player-button:hover {
            background-color: #0056b3;
        }
        .player-button:active {
            transform: scale(0.98);
        }
    </style>
</head>
<body>
    <div id="button-container">
        <a href="https://10.42.0.1:3001" class="player-button">Player 1 (admin)</a>
        <a href="https://10.42.0.1:3001/#player2" class="player-button">Player 2</a>
        <a href="https://10.42.0.1:3001/#player3" class="player-button">Player 3</a>
        <a href="https://10.42.0.1:3001/#player4" class="player-button">Player 4</a>
    </div>
</body>
</html>
Start the services
sudo systemctl unmask hostapd
sudo systemctl enable --now nginx
sudo systemctl enable --now dnsmasq
sudo systemctl enable --now hostapd
Putting it all together - Set up your container
Next, dump all your arcade PCBs by googling "MAME 0.279 (merged) pleasuredome". Place all the resulting zip files on your mini PC in ~/mame/roms.
Now, let's set up and run the container:
mkdir -p ~/docker-storage/mame ~/compose
cd ~/compose
Full file: docker-compose.yml (replace thelamer with your username)
---
services:
  mame:
    image: lscr.io/linuxserver/mame:latest
    container_name: mame
    environment:
      - PUID=1000
      - PGID=1000
      - TZ=Etc/UTC
    devices:
      - /dev/dri:/dev/dri
    volumes:
      - /home/thelamer/docker-storage/mame:/config
      - /home/thelamer/mame:/mame:ro
    ports:
      - "10.42.0.1:3001:3001"
    shm_size: "1gb"
    restart: unless-stopped
Start the container:
docker compose up -dYou did it!
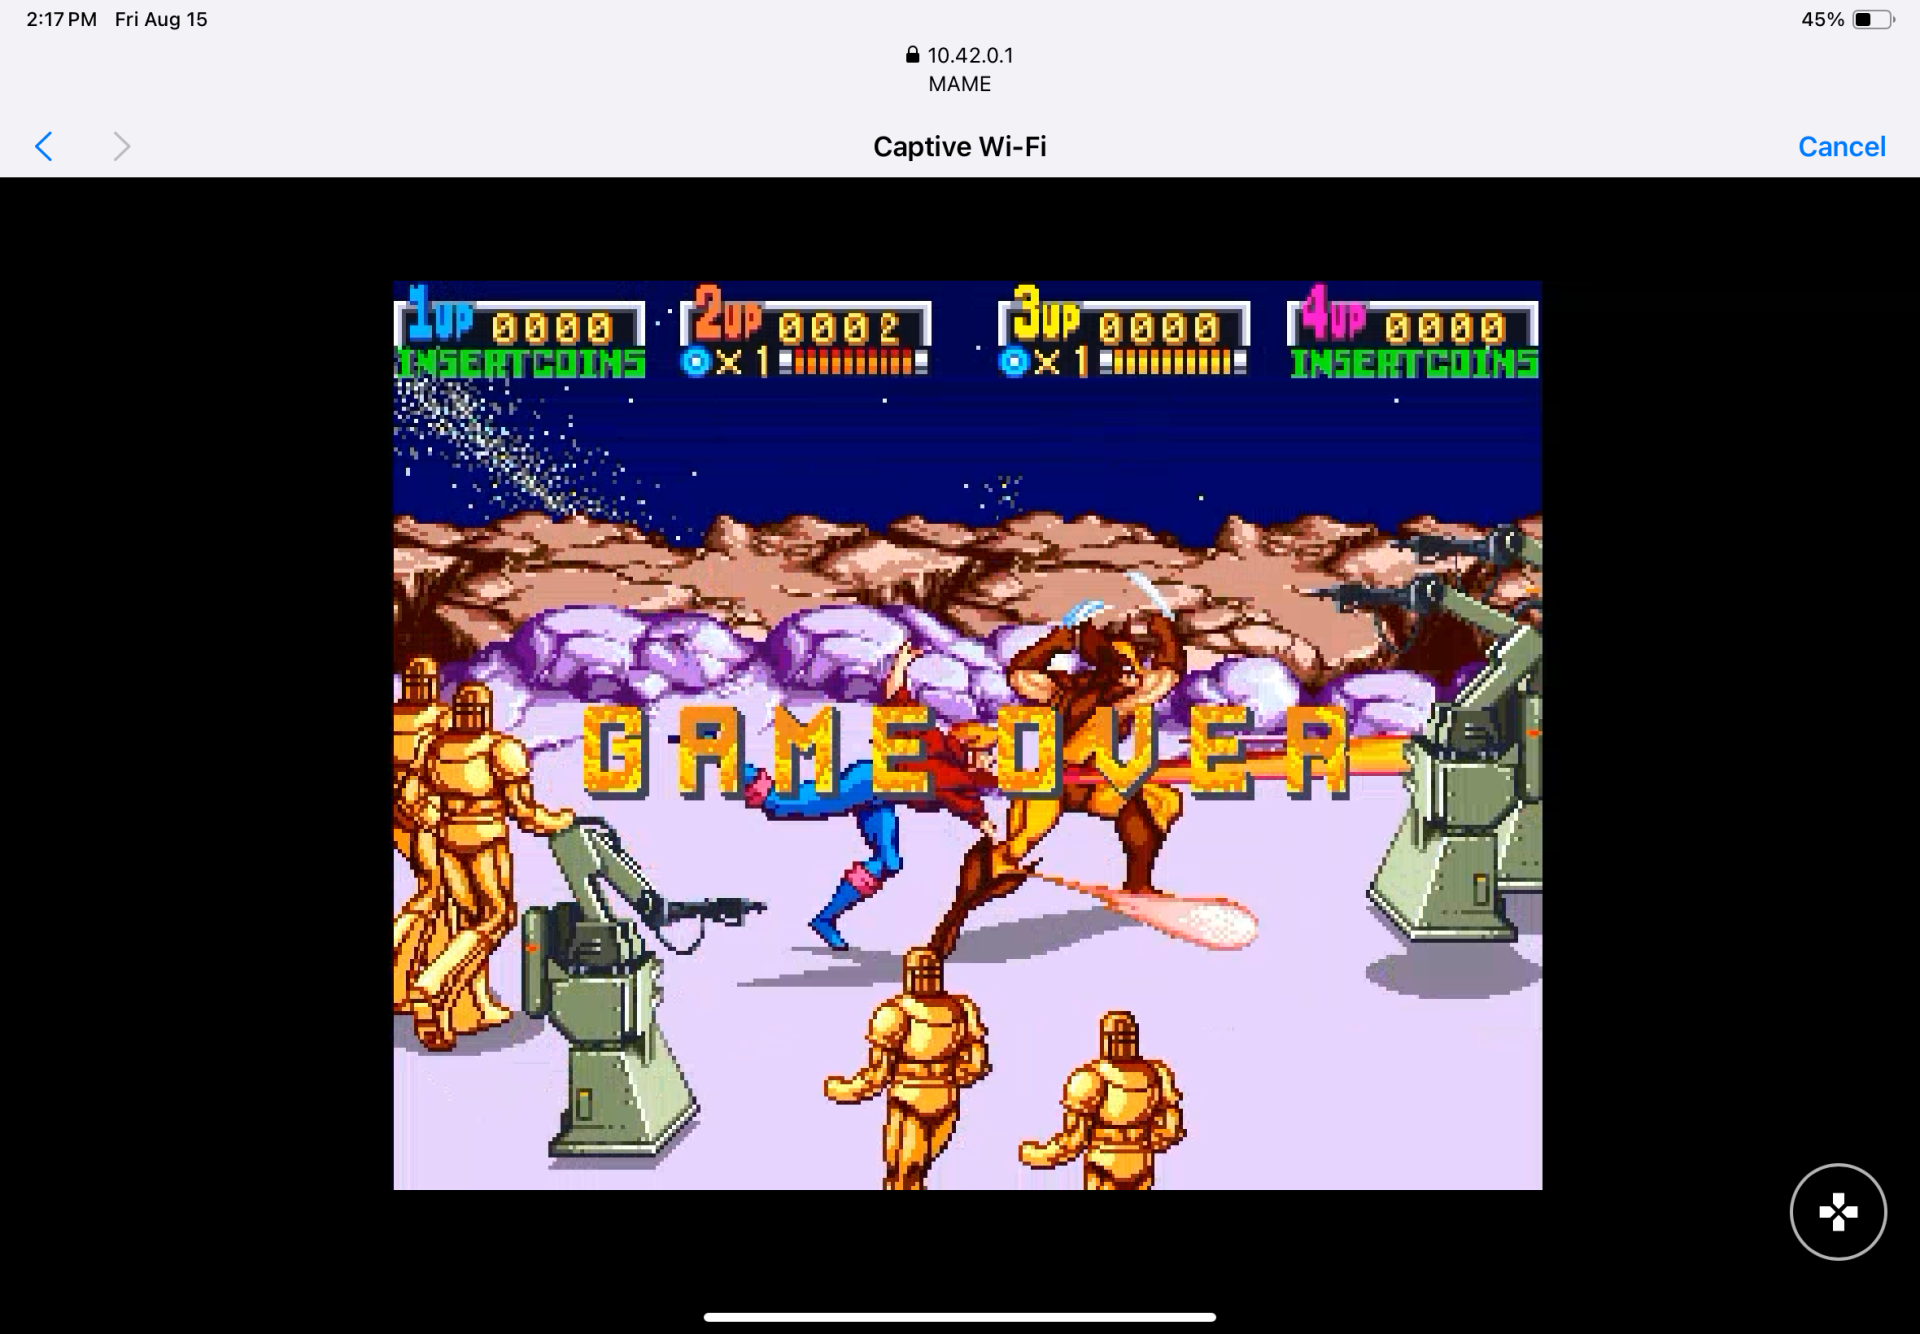
Whip out your phone, connect to your new MAME network, and when asked to sign in, you will be presented with the player selection screen.
Learning Selkies
- Player 1 is the primary client. The screen is encoded only once based on Player 1's device and broadcast to all other clients. Therefore, Player 1 determines the resolution and must remain connected for other players to function.
- Audio on iOS devices is not yet supported. This functionality is coming with iOS 26 in the fall. See the browser compatibility for the AudioDecoder API.
Take a moment to click around in the sidebar. Understand the touch interface and turn off HiDPI in the screen settings if your device has a high-resolution display (e.g., iPad Pro).
If Player 1's device is in a vertical orientation, the other clients should also be vertical. The same applies to horizontal orientation.
Find the softkeys in the sidebar to press "Escape" and return to the game selection screen in MAME. With the touch controller active, click its settings icon in the top right of the screen and try different pad styles. Learn how to navigate the MAME menu, use the on-screen keyboard to search for games, and experiment with the settings.
Screenshots
Our "sign-in" page for the captive portal:

Player 1 can activate their touch controller in the sidebar if they lack a physical one:


Players 2-4 will get a button to turn the touch controller on and off if they lack a physical one:
Make it your own
This is just an example that was put together in an afternoon. I always thought when connecting to public Wi-Fi hotspots, "Why not dedicated hotspots for fun instead of for the internet?" You can self-host anything on these little devices. Instead of telling people to navigate to a complex URL, just tell them to connect to the "Fun" network, as you've already taken care of everything else.
The sky is the limit. If your application is web-based and runs in Docker, just swap out the URLs in your landing page. You could even make the landing your container's direct interface if it does not require HTTPS, just remove NGINX and have the container listen on port 80.
MAME is not the only gaming image we have made. Check some of these out:
- https://github.com/linuxserver/docker-dogwalk
- https://github.com/linuxserver/docker-dolphin
- https://github.com/linuxserver/docker-duckstation
- https://github.com/linuxserver/docker-flycast
- https://github.com/linuxserver/docker-mame
- https://github.com/linuxserver/docker-pcsx2
- https://github.com/linuxserver/docker-retroarch
- https://github.com/linuxserver/docker-rpcs3
- https://github.com/linuxserver/docker-xemu