One of the most popular pieces on this site was an article I wrote just over a year and a half ago on how to set up an affordable and small home server. It proved wildly popular, I think, because of the ProLiant's modest price point and ease of use. However, that was back in early 2015. We're now nearing the start of 2017, and with no Gen9 Microserver on the horizon, I think it's time we kept this little baby up to date.
The upgrades
I have decided to upgrade almost everything about this server, with the single exception of the CPU, which I feel would be overkill for the time being. Comparing the original component list to this one, there are some modest updates.
Storage
The overall storage capacity has been increased from 9TB to 12TB, with the addition of two Western Digital Blue 3TB (WD30EZRZ) hard drives. The array configuration is now:
- WD Green (WD30EZRX)
- WD Green (WD30EZRX)
- WD Blue (WD30EZRZ)
- WD Blue (WD30EZRZ)
Why WD Blue? My previous argument was that, personally, using WD Red 3TB drives was overkill for my needs. My home server is not a web host, it does not (currently) run heavy applications that require constant (or at least, often) read/writes to the array. Reds are most definitely the best WD drives you can buy for a server but your own use-case will always affect the viability of those drives, especially at their current price point. In my case, I don't run my array in a RAID configuration, which effectively ignores the benefits I would have had from running Reds. Anandtech wrote a great review and comparison piece on Reds which includes a list of the NAS and RAID-specific benefits they provide. In short, my usage of my server is too low for me to justify using Reds. The number of read/writes isn't heavy or constant enough for it to wreak havoc on my Greens and Blues.
Why not WD Green? I actually wanted to keep my drives the same but unfortunately Western Digital have discontinued the Green line and merged it with the Blue line. I assume this is a way for them to better market their drives for more specific use-cases.
Can the Gen8 store more than 12TB? Yes, right now it is marketed at 16TB but I don't see any reason why it can't store even more.
RAM
My ProLiant shipped with 2GB ECC RAM, which was admittedly on the low side. I have been running it with an additional 2GB ECC RAM since I bought it but I have decided to upgrade it to a single DIMM 8GB ECC RAM.
My choice of RAM is the Kingston KVR16LE11/8G single 8GB stick. As is always the case with RAM, the price fluctuates on an almost daily basis.
ECC (Error Code Correcting) RAM is, in my opinion, a must-have in any server that one intends on keeping on all the time. This type of RAM ensures that any corrupted bits in data are corrected, thus reducing (and often removing) the chance of any data getting lost or permanently corrupted. As a software engineer, having that level of insurance means that when I run any builds on my server via CI I know the chance of something going wrong is infinitesimal. For further reading on ECC, Puget Systems have written a great article on the upsides and downsides of ECC RAM.
At the cost of a little money and performance, ECC RAM is many times more reliable than non-ECC RAM. And when high-value data is involved, that increase in reliability is almost always going to be worth the small monetary and performance costs. ... we would recommend using ECC RAM. - Puget Systems
OS Drive
The original HDD I used for the operating system was a Samsung HM250JI HDD, which I salvaged from an old laptop (I didn't have any others lying around). Needless to say it's pretty old - probably about 7 years old - and needed to be replaced.

There is a chance that this upgrade is the most overkill as I decided on the Samsung 750 EVO 120GB SSD as the replacement. Solid State was the obvious choice for me as I wanted to mitigate any speed issues that would have occurred on my original "spinner" OS drive. The EVO was not a requirement for me but I wanted to make sure I got a good, well known SSD to run the operating system.
It was also important for me to try and mitigate any performance issues I saw with the old HDD. When the HDD was under particularly heavy load - i.e. when it was downloading a large file, or running a long process that caused multiple writes to disk - the entire server operating system would slow down to a crawl. This would occur enough for me to notice, hence the decision to move to an SSD, which would be much faster and more reliable.
The operating system
You should always keep your OS up-to-date. Updating your system ensures any important security patches are applied, plus you get to ensure the repositories contain all of the most recent software you'll likely need.
I, like an idiot, did not do that. My ProLiant still ran Ubuntu Server 14.10 (two years out of date!) which has since been deprecated by Ubuntu.
Despite Ubuntu Server 16.10 having just been released, I still decided to opt for the LTS version, so used 16.04.1 instead. At least with LTS I can ensure the packages do not go out of date so quickly.
Rebuilding
Compared to the original build steps, where were a few minor differences this time around when installing the operating system and formatting the new drives.
If you are attempting an install with the HP ProLiant Gen8 Microserver, I highly recommend you follow the guide in my original article, as it will cover each step much more closely.
Configuring the SSD
SSDs work in a fundamentally different way to HDDs. For a start, they do not have moving parts, so do not have platters for data to be written to. If you've ever owned a Windows PC within the last 15 years, you will very likely have needed to run a defragmentation of your hard drives. The nature of flash storage means that defragmentation is not required, with the process actually harming solid state drives.
So, instead with SSDs, you should run the TRIM command. Unlike degragmentation, which moves split data back together, TRIMming informs the SSD which blocks of data can be cleared. Trimming should be performed periodically, which is already taken care of in Ubuntu by way of a weekly cron task.
I checked the weekly cron to make sure it was set up:
sudo nano /etc/cron.weekly/fstrim

#!/bin/sh
# trim all mounted file systems which support it
/sbin/fstrim --all || true
Update: Thanks to Tony Gellen in the comments for pointing out that Ubuntu 16.04 now uses /sbin/fstrim, which does not use the --no-model-check flag. Previous versions would run /sbin/fstrim-all, which requires this flag for non Intel/Samsung devices. The fstrim process will TRIM any device that supports it.
running TRIM ... reclaims unused blocks of NAND memory back to SSD - Serg, StackOverflow
Solid state drives also have a limited lifespan, measured in units called Terabyte Writes (TBW). My SSD has a lifespan of 35TBW, meaning it can withstand 35TB-worth of data being written to it before it is deemed "end of life". Of course, this doesn't mean it will just stop working, but after this point performance may suffer. 35TB may not seem like a particularly large number when compared to the storage I have in my array - it's only four times as much - but even if I write 10GB of data per day to the SSD, it will last for 9 and a half years.
The calculation being: (total TBW number of GB in a TB) / daily GB written / days in a year*
- (35 * 1000) / 10 / 365 = 9.5890 years
I hardly doubt I'll be writing that amount of data on a daily basis, and on the odd occasion I may actually be writing more but from my perspective, that feels like a good lifespan.
Despite the apparent longevity of the SSD, I still needed to reduce the number of writes as much as I could, so I updated the SSD mount options to include the noatime option (atime or "access time" logs whenever a file/directory is accessed) so each read does not also cause a write. This will increase the lifespan of the SSD.
# / was on /dev/sda1 during installation
UUID=4de5f932-352b-488b-91b7-9f3c658bbb0b / ext4 noatime,errors=remount-ro 0       1
Partitioning the new HDDs
When it came to preparing my new HDDs for my array, I found that the original step of running parted to format and partition my drives did not work. For some reason unknown to me, I was not able to align the partition properly, so fell back to another approach, recommended by j0nnymoe, which thankfully worked.
In a mix 'n' match of my original guide, and another that thankfully exists, here is what I did to do to get a 3TB drive formatted as XFS, with a single 100% partition:
Firstly, I had to find out which drives need formatting.
sudo fdisk -lI knew that /dev/sdd and /dev/sde were my candidates as they were the only drives that did not have their respective sdd1 or sde1 partition counterparts. Another way is to run ls -l /dev/disk/by-id and see which drives do not have a -part1 counterpart.
Using parted, I could give each drive a gpt label:
parted /dev/sdd
(parted) mklabel gpt
(parted) quit

parted /dev/sde
(parted) mklabel gpt
(parted) quit
I then checked whether or not I needed to install xfsprogs. This will contain the tools we need to format our drives to XFS:
sudo apt-get install xfsprogsEach drive now needs to be partitioned. At present, they are still unallocated, so I needed to run fdisk to create the partition:
sudo fdisk /dev/sddThankfully, fdisk's default options are exactly what we need:
nfor a new partition- I kept hitting
RETURNuntil it prompted me for a new command. Each prompt in this step asked for the default block size, the start and end of the partition. As I wanted a 100% partition, the default options were what I needed. wto write the changesqto quit
Finally, I could format my newly partitioned drives (note: this time I referenced the partition sdd1, rather than the entire drive):
sudo mkfs.xfs -L primary /dev/sdd1This process can take a little while.
Switching to MergerFS
Originally, I'd been using mhddfs as my FUSE mount of choice but I'd always had issues with it; primarily around user access and how it deals with mod times on directories. The technology is old and not very well supported nowadays so on the behest of IronicBadger, I moved over to MergerFS. It was an incredibly easy switch to make, with just the installation of its pre-built .deb file:
wget https://github.com/trapexit/mergerfs/releases/download/2.16.1/mergerfs_2.16.1.ubuntu-xenial_amd64.deb
sudo dpkg -i mergerfs_2.16.1.ubuntu-xenial_amd64.deb
After which I amended my FUSE mount in /etc/fstab:
/mnt/disk* /storage fuse.mergerfs direct_io,defaults,allow_other,minfreespace=50G,func.getattr=newest,fsname=mergerfs 0 0IronicBadger has also created a Docker image that can be spun up into a container that builds the latest MergerFS codebase from source, so you know you have the latest version. If you don't have the time or inclination to build it manually, let Docker do it!
General Findings
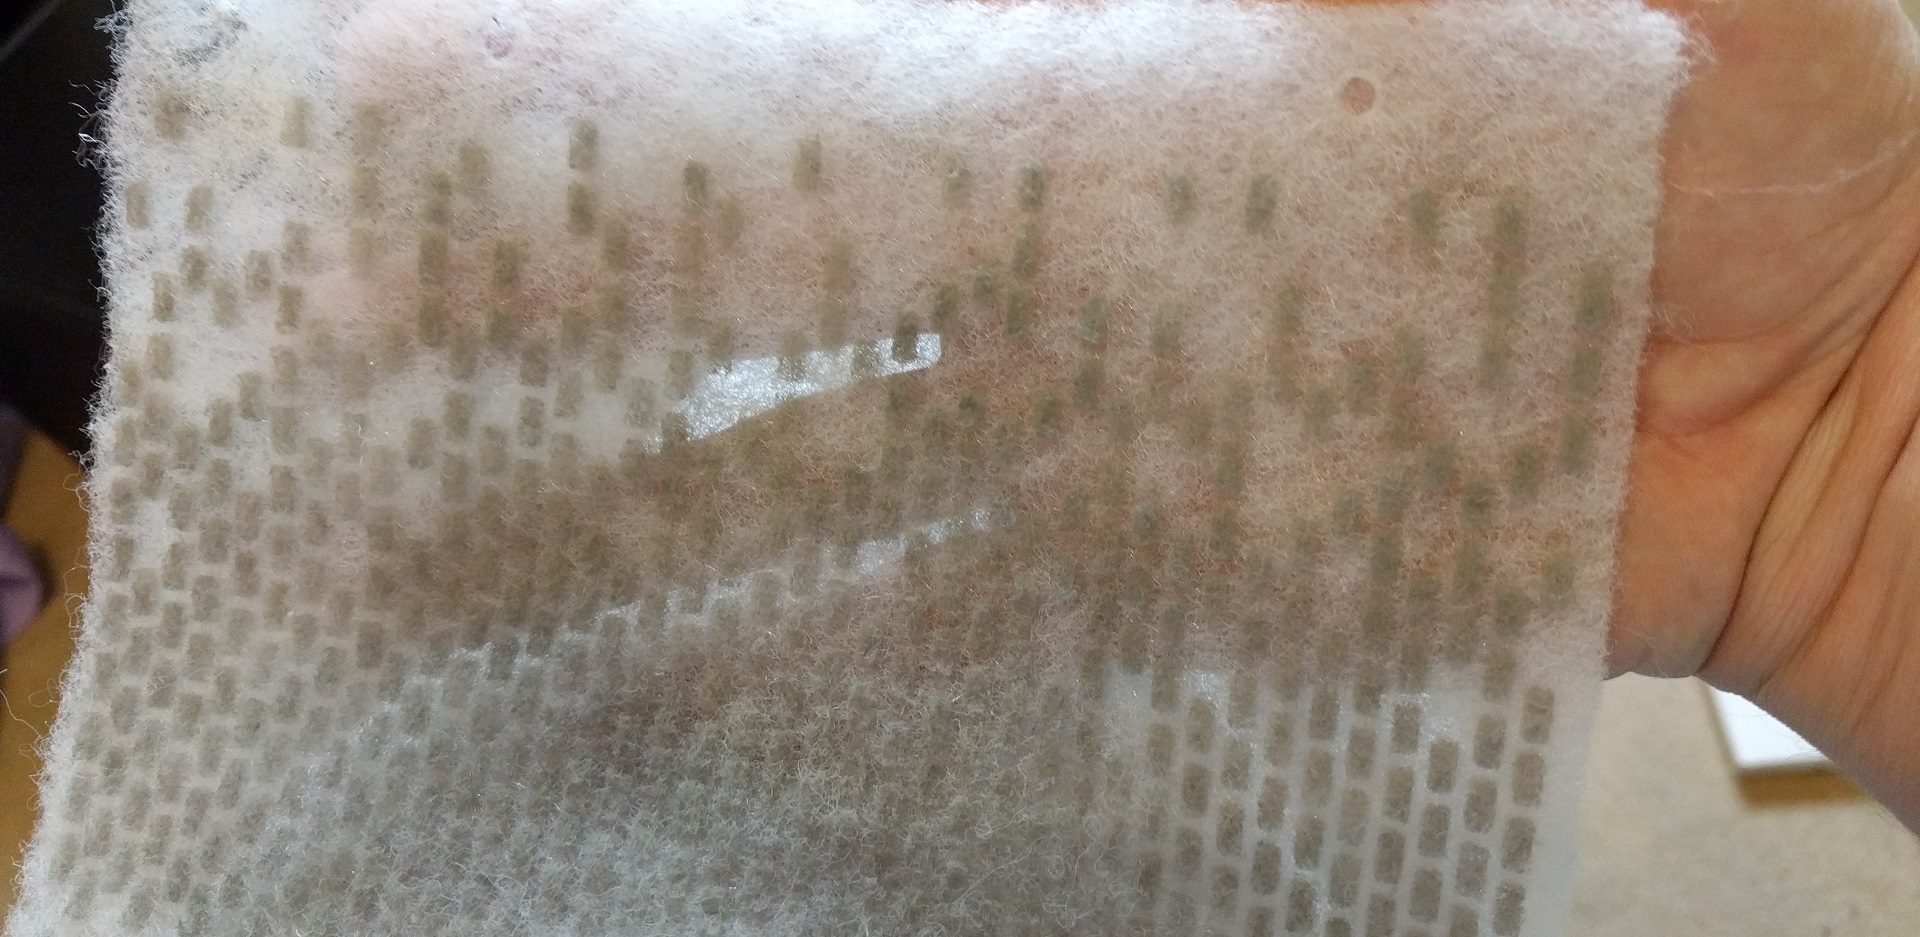
The front design on the door wasn't particularly well thought out in my opinion, while the holes make for a pretty design with excellent air flow, the main caveat is that it also lets in a huge amount of dust into the system. Since my original build, I have been using a thin layer of kitchen air extractor felt as a way to help filter out the dust. It's quite apparent how bad it can get!
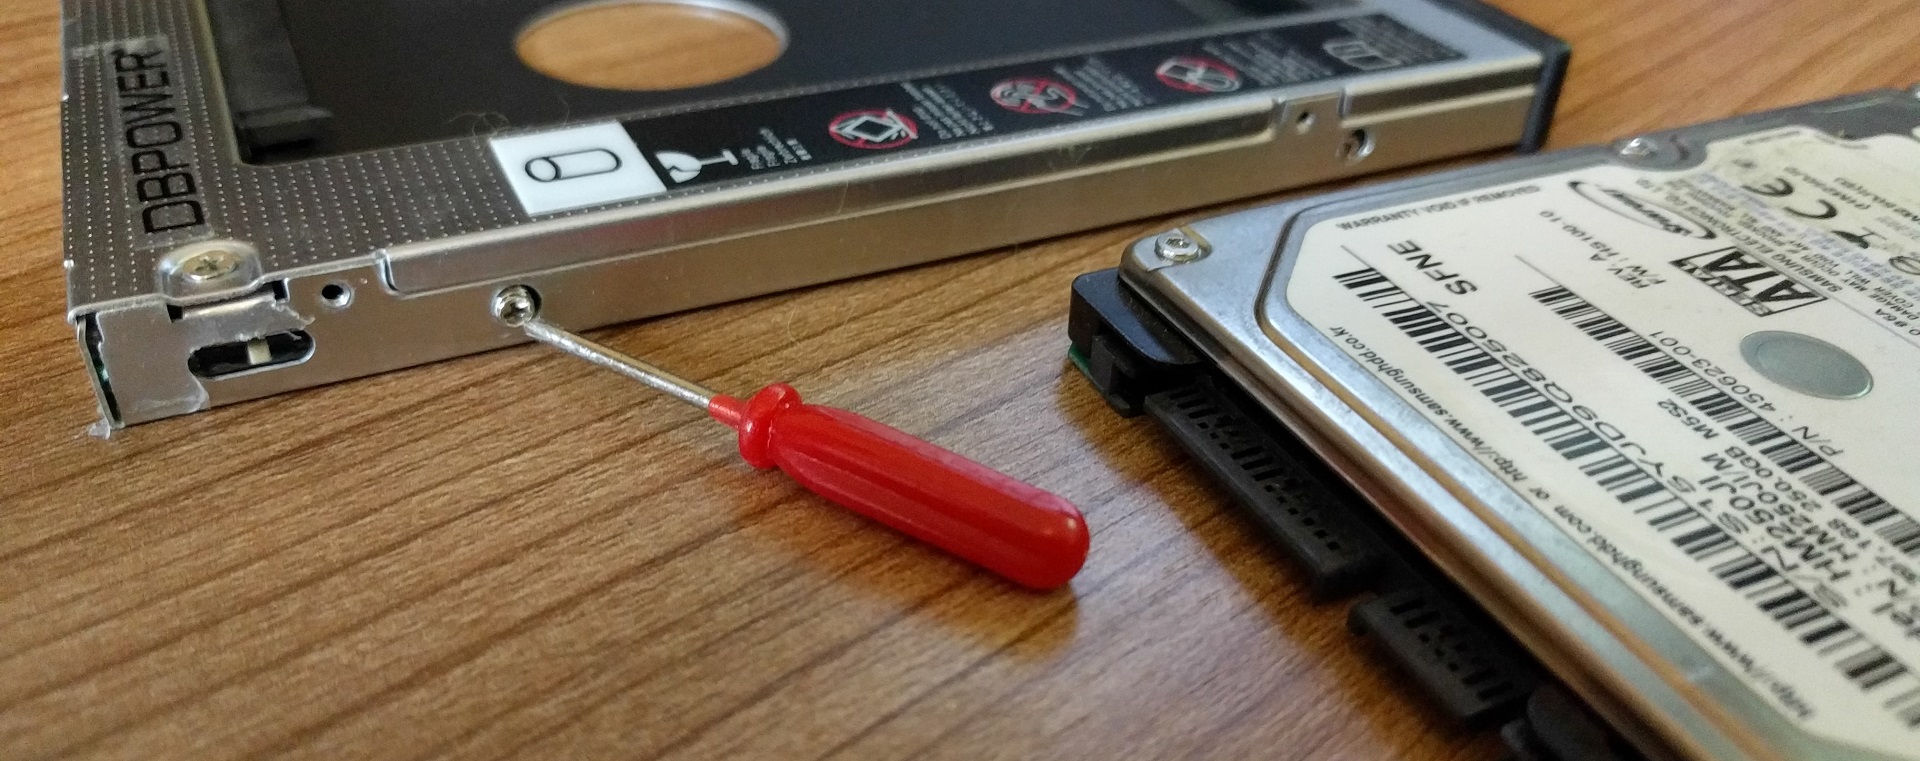
I also had forgotten how tiny the screws were on the ODD to HDD conversion bay were. In order to get the old drive out I needed to find a comically small screwdriver (I lost the original one). For your viewing pleasure:
Finally
The upgrade was a welcome addition to the ProLiant. Updating the core components gave it a fresh breath of life that it desperately needed. This was in part my own doing by firstly providing it with an already old HDD for its OS.
Even though it never used the maximum allocated RAM, upping the total amount to 8GB now means I can run more applications, giving the server new purpose (whatever that may be), while also giving me peace of mind. It also meant that I could do away with the swap partition on the SSD - another thing I could throw away.
And lastly, the increased storage capacity now means I shouldn't have to worry about running out of room for a good number of years. A great little project to have.